Installing and setting up the
Firebird SQL server
1. Download and install the evaluation software onto
your server. You can use the links below to download the
software:
Click here to
download the EasyCert evaluation
or click here to
download the EasyPAT evaluation
or click here to
download the EasyGas evaluation
2. Once the evaluation software is installed on your
server, click Start >
EasyCert > Database Server.
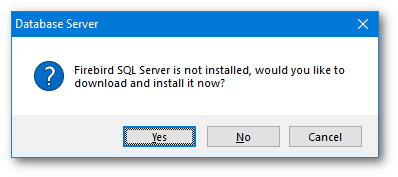
3. If you are running it for the first time, you will be
prompted to install the Firebird SQL Server as displayed
below, click Yes to start the installation.
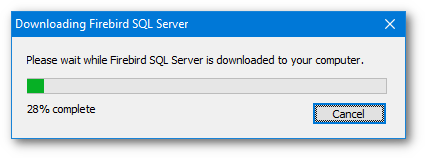
The Downloading Firebird SQL Server window will then
be displayed as shown below.
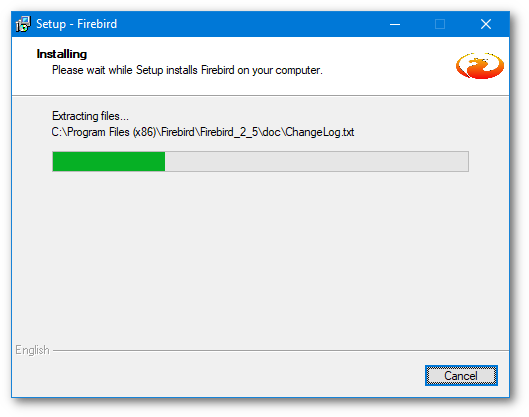
Once the download completes, the Firebird
installation setup wizard will then be started and
install the Firebird SQL Server onto your computer as
shown below.
4. Once the installation setup wizard completes, the
Firebird SQL Server software will now be installed on
your computer. Now click Start > All Programs
> EasyCert > Database Server.
The Database Server settings window will then be
displayed. The Status window will display the current
status of the Firebird SQL Server and the server IP
Address. If everything is listed as OK then the server
is correctly configured and running.
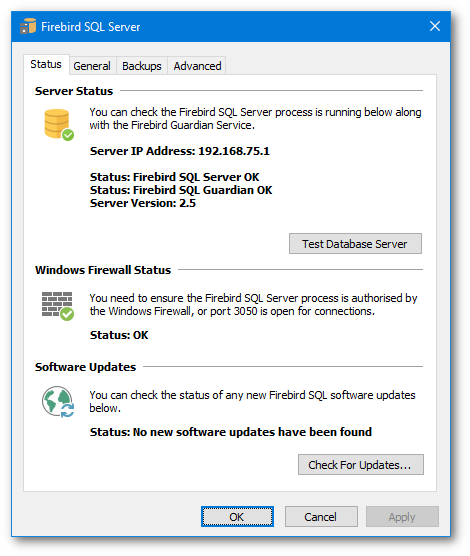
The server runs on port 3050 so the Windows Firewall
must be configured to allow incoming connections through
this port. If you have other third party Firewall
software installed this must also be configured to allow
port 3050 to receive incoming connections.
The Database Server is now successfully installed and
configured, you can now click OK to close the Settings
window.
|